Say you are trying to submit a plugin to the Figma Community by end of week, and the night before submission you run it once on a small test file, watch it work exactly as expected, and call it done. Then a user installs it on a 400-layer file with nested components and auto-layout frames three levels deep, and it throws an error nobody on your side ever saw. This is the single most common gap between a plugin that “works” and a plugin that’s actually ready to publish — and the gap is almost always a testing gap, not a coding one.
This post lays out what testing looks like at two different levels: the baseline most developers stop at, and the more rigorous process that catches the problems users actually report after launch.
The Beginner Baseline: What Most Developers Do First
At the beginner level, testing a Figma plugin usually means opening a Figma file, running the plugin manually, and watching whether it produces the expected result. You click the button, the plugin does its thing, and if the output looks right, you move on. This is not a bad starting point — it catches obvious breakage and confirms the core logic functions at all. But it tends to test the happy path almost exclusively, using files and layer structures you built specifically because you knew your plugin would handle them well.
The beginner checklist typically covers:
- Does the plugin run without throwing a console error on a simple test file?
- Does the UI render correctly at a standard panel size?
- Does the core feature — renaming layers, generating a component, populating text — do what it’s supposed to do?
- Does the plugin close cleanly when the user dismisses it?
Checking these four boxes feels like enough, and for a plugin destined for personal use or a small internal team, it might be. For anything going into the public Community, it rarely is.
Where the Beginner Approach Breaks Down
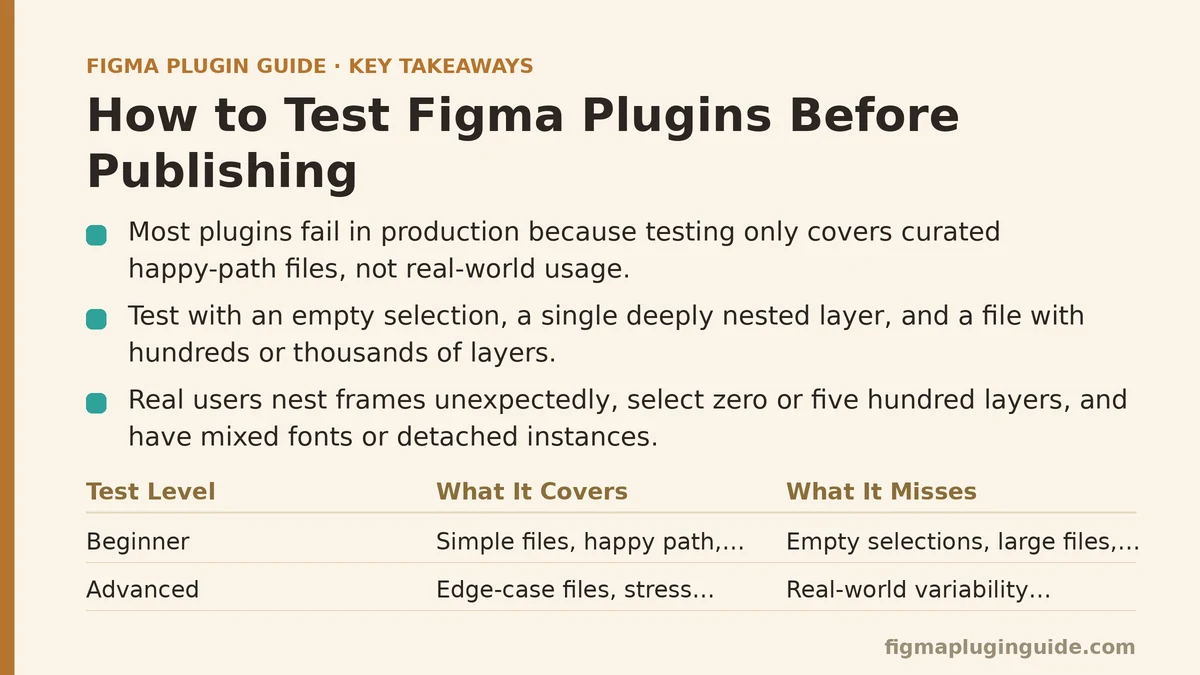
The problem with testing only your own curated files is that real users don’t design the way plugin developers test. They nest frames in ways you didn’t anticipate. They run your plugin on a selection of zero layers, or five hundred. They have components with detached instances, text layers with mixed fonts, or images that failed to load. None of this is unusual — it’s just the normal condition of files that have been worked on by more than one person over more than one sitting.
A plugin tested only on clean, purpose-built files tends to fail in three predictable places once it reaches real users: empty or invalid selections, unusually large files, and edge-case layer types the developer never thought to include in their test set. Each of these is preventable, but only if testing expands beyond the happy path before submission, not after the first bug report arrives.
Advanced Testing: Building a Deliberate Edge-Case Set
The advanced version of testing starts from a different assumption: that your plugin will eventually be run under conditions you didn’t design for, so your test files should reflect that instead of your ideal case. This means assembling a small library of test files that intentionally stress the plugin rather than flatter it.
A reasonably thorough edge-case set includes:
- An empty selection. What happens when the user runs your plugin with nothing selected? A clear message, or a silent failure?
- A single, deeply nested layer. Ten frames deep, inside a component instance, inside another component instance.
- A file with hundreds or thousands of layers. Not because every user has a file this large, but because some do, and performance degradation should be measured rather than assumed.
- Mixed content types in one selection — text, images, vectors, groups, and components selected together, if your plugin allows multi-select at all.
- Detached component instances and missing fonts, both of which are more common in production files than in test files developers build from scratch.
Running your plugin against this set before submission turns testing from a confirmation exercise into something closer to a stress test, and it surfaces the kind of failure that beginner testing structurally cannot reach, because it never puts the plugin in a position to fail.
Beginner Error Handling vs. Advanced Error Handling
At the beginner level, error handling often means wrapping the main function in a try/catch block so the plugin doesn’t crash Figma outright. That’s a reasonable minimum. It stops the worst outcome — a frozen or broken plugin panel — but it doesn’t tell the user anything useful about what went wrong or what to do next.
Advanced error handling treats failure as a first-class part of the user experience rather than an afterthought. This means:
- Writing specific error messages tied to specific failure conditions, rather than a generic “Something went wrong” for every case.
- Validating the user’s selection before running core logic, so the plugin can say “Please select at least one text layer” instead of throwing a stack trace the user can’t interpret.
- Logging enough detail during development to trace which function failed and why, without exposing that detail as raw console noise to the end user.
The practical difference shows up in reviews. Plugins with vague or absent error handling tend to collect one- and two-star reviews from users who assume the plugin is broken, when in fact it just hit an unhandled edge case it should have explained rather than swallowed.
Beginner Performance Checks vs. Advanced Performance Testing
A beginner performance check usually amounts to noticing whether the plugin feels slow while you’re using it. That’s a fair gut check, but “feels slow to me” and “measurably slow under realistic load” are different things, and only one of them predicts what will happen when a user runs the plugin on a file far larger than your test case.
Advanced performance testing involves deliberately scaling the input and measuring what happens:
- Time the plugin’s core operation on a small file (10-20 layers), a medium file (100-200 layers), and a large file (1,000+ layers).
- Watch for UI freezing during long operations — if the plugin blocks the main thread for several seconds, users will assume it has crashed, even if it hasn’t.
- Check whether batching or
figma.skipInvisibleInstanceChildrenand similar performance-oriented APIs make a measurable difference at scale. - Confirm the plugin doesn’t leave orphaned network requests or unresolved promises running after the panel closes.
None of this requires specialized tooling. A stopwatch and three test files of increasing size will tell you more about real-world performance than a dozen runs on the same small file ever will.
Beginner Cross-File Testing vs. Advanced Multi-Environment Testing
Beginner testing typically happens in one file, one Figma account, one operating system, at one zoom level. That’s a narrow slice of the actual conditions your plugin will run under once it’s public.
Advanced testing widens that slice deliberately:
- Multiple file types — a design file, a FigJam board if your plugin supports it, a file with multiple pages versus a single page.
- Both desktop app and browser, since rendering and performance characteristics aren’t identical between the two.
- A second Figma account with different permission levels, particularly if your plugin reads or writes shared libraries, team components, or organization-level assets.
- At least one collaborator testing blind — someone who didn’t write the plugin, hasn’t seen the code, and will use it the way an actual stranger would: without reading any instructions first.
That last point matters more than it sounds like it should. Developers unconsciously use their own plugins correctly, because they know exactly what input the plugin expects. A blind tester doesn’t have that advantage, and their confusion tends to reveal UI and messaging problems that pass unnoticed by anyone who already understands the tool.
A Comparison Table: Beginner vs. Advanced Testing
| Testing Area | Beginner Approach | Advanced Approach |
|---|---|---|
| Test files | One clean, curated file | A deliberate set including empty, nested, and oversized files |
| Error handling | Generic try/catch, vague messages | Specific validation and messages per failure type |
| Performance | Gut-check on a small file | Timed tests across small, medium, and large files |
| Cross-environment | One file type, one platform | Multiple file types, desktop and browser, multiple accounts |
| Reviewers | Developer only | Developer plus at least one blind tester |
This isn’t a claim that beginner testing is worthless — it catches real, common bugs quickly and cheaply. It’s a claim that beginner testing alone leaves categories of failure completely untested, and those categories are exactly the ones that show up in post-launch reviews and support requests.
When to Stop Testing and Submit
There’s no perfect stopping point, and chasing one tends to delay submission indefinitely rather than improve the plugin meaningfully. A reasonable line: once your plugin has survived the edge-case file set, handled at least a few deliberately broken inputs gracefully, and been used successfully by someone other than you, it’s in better shape than the vast majority of first submissions to the Figma Community.
Which part of this process are you currently skipping — the edge-case files, the blind tester, or the performance check on a larger file? Picking just one to add before your next submission is usually enough to catch the kind of bug that would otherwise surface as a bad review three weeks after launch. Related guides: How to Publish Your Figma Plugin to the Community, Building a CI/CD Pipeline for Figma Plugins with Automated Testing, and Figma Plugin Anatomy for Beginners: Understanding How Plugins Work.