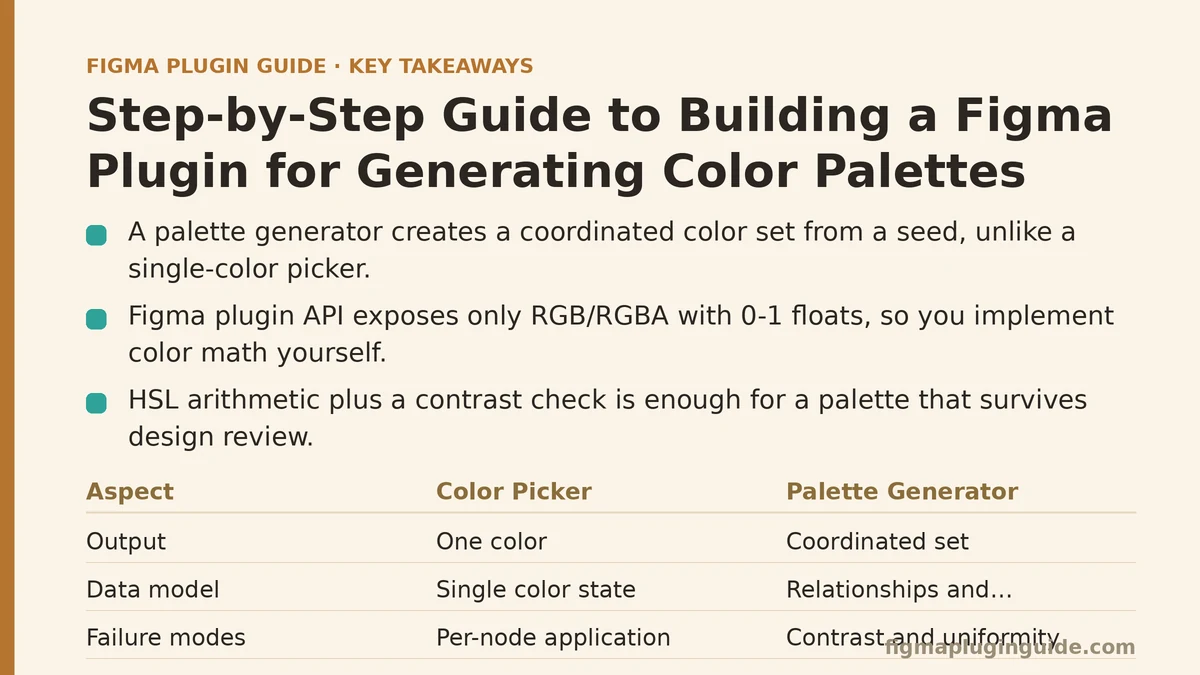
A palette plugin and a color-picker plugin are frequently treated as the same thing, and that confusion shapes a lot of poorly structured first attempts. A color picker lets a user select one color and apply it to one node. A palette generator produces a coordinated set of colors — often derived from a single seed — and its value depends on the relationships between those colors holding up under constraints like contrast ratios, perceptual uniformity, and step scaling. The two require different data models, different UI, and different failure modes. This post builds the second kind, step by step, with the plugin API surface that a real implementation touches.
Myth: A Palette Plugin Needs a Design-System Backend
The most common assumption before starting is that generating colors requires a server, a database of brand tokens, or some external color service. In practice, the math for a usable palette fits in a few hundred lines of TypeScript and runs entirely inside the plugin sandbox. Figma plugins execute in a constrained JavaScript environment with no network access by default, and that constraint pushes toward local computation rather than away from it.
Reality: HSL arithmetic plus a contrast check is enough for a palette that survives a design review. What a backend adds is persistence across sessions and shared state across a team — useful, but a separate concern from generation.
The second myth is that the Figma plugin API exposes a rich color-manipulation surface. It exposes exactly one useful structure: RGB and RGBA objects with r, g, and b floats in the 0–1 range, plus hex strings in the UI layer. There is no built-in lighten(), darken(), or mix() on the plugin side. You write those yourself.
Reality: You own the color math. That is the actual work of this plugin.
Step 1: The Manifest
Every Figma plugin starts with manifest.json. For a palette generator that draws its own UI, you need a main entry point, a ui entry point, and the figma.currentPage.selection-adjacent permissions. The manifest below is minimal but complete for this build.
{
  "name": "Palette Generator",
  "id": "1000000000000000001",
  "api": "1.0.0",
  "main": "dist/main.js",
  "ui": "dist/ui.html",
  "editorType": ["figma"],
  "networkAccess": {
    "allowedDomains": ["none"]
  }
}
Two fields matter more than they look. api: "1.0.0" is the current plugin API version and pins you to a specific behavior set — upgrading later is a deliberate decision, not an automatic one. networkAccess.allowedDomains: ["none"] declares that the plugin makes no network calls, which is worth committing to because it makes the plugin publishable without review delays and removes an entire class of privacy questions from the Figma Community submission form.
Failure mode to expect: if main points at a file that bundlers haven’t emitted yet, figma plugin build fails with a cryptic “manifest main missing” error. Keep the build output path and the manifest path literally identical — no ./ prefix differences, no case mismatches.
Step 2: Project Structure and the Build Step
The plugin needs two bundles: one for the sandbox (main.js, running the Figma API) and one for the iframe (ui.html, running standard browser code). TypeScript plus a bundler like esbuild or Vite is the conventional setup. A minimal package.json script pair:
npm install -D esbuild typescript
mkdir -p src dist
npx esbuild src/main.ts --bundle --outfile=dist/main.js --format=iife --platform=browser
npx esbuild src/ui.ts --bundle --outfile=dist/ui.js --format=iife --platform=browser
The UI needs an HTML shell that loads ui.js and provides the render target. A single dist/ui.html file with a <div id="app"> and a <script src="ui.js"> tag is enough. The reason to keep the UI HTML static and load JavaScript separately is the postMessage boundary described in Step 4 — the HTML file is not where logic lives.
A common mistake is bundling the sandbox code and the UI code into one file. They run in different contexts with different globals. figma is not defined in the iframe, and window is not defined in the sandbox. Separating the bundles makes that separation obvious and stops the sandbox bundler from pulling in DOM-only dependencies.
Step 3: Color Math — The Part That Determines Whether the Palette Is Usable
HSL is the right working space for palette generation because its hue, saturation, and lightness axes correspond to how designers think about color relationships. The conversion from RGB is not on the plugin API, so write it once in a src/color.ts module:
// src/color.ts
export function rgbToHsl(r: number, g: number, b: number): [number, number, number] {
  const max = Math.max(r, g, b);
  const min = Math.min(r, g, b);
  const l = (max + min) / 2;
  let h = 0;
  let s = 0;

  if (max !== min) {
    const d = max - min;
    s = l > 0.5 ? d / (2 - max - min) : d / (max + min);
    switch (max) {
      case r: h = (g - b) / d + (g < b ? 6 : 0); break;
      case g: h = (b - r) / d + 2; break;
      case b: h = (r - g) / d + 4; break;
    }
    h /= 6;
  }
  return [h, s, l];
}

export function hslToRgb(h: number, s: number, l: number): [number, number, number] {
  if (s === 0) return [l, l, l];
  const q = l < 0.5 ? l * (1 + s) : l + s - l * s;
  const p = 2 * l - q;
  const hue2rgb = (t: number) => {
    if (t < 0) t += 1;
    if (t > 1) t -= 1;
    if (t < 1 / 6) return p + (q - p) * 6 * t;
    if (t < 1 / 2) return q;
    if (t < 2 / 3) return p + (q - p) * (2 / 3 - t) * 6;
    return p;
  };
  return [hue2rgb(h + 1 / 3), hue2rgb(h), hue2rgb(h - 1 / 3)];
}
With HSL in hand, palette generation becomes a rotation around the hue wheel with a lightness ramp. A five-color palette from a seed color uses a fixed hue offset scheme — analogous (30° apart), complementary (180°), triadic (120°), or split-complementary — plus a lightness ladder from roughly l = 0.15 to l = 0.95. The exact offsets matter less than keeping them in one configuration object so they can be tuned without rewriting the generator.
The failure mode to plan for: HSL is not perceptually uniform. A yellow at l = 0.5 and a blue at l = 0.5 have very different perceived brightness. This is why a pure-HSL palette commonly breaks contrast ratios in the darker rows. The practical fix is a WCAG contrast check applied after generation — reject any color pair that fails the 4.5:1 ratio used by WCAG AA for body text. The check itself is a relative-luminance computation, roughly:
function relativeLuminance(r: number, g: number, b: number): number {
  const channel = (c: number) =>
    c <= 0.03928 ? c / 12.92 : Math.pow((c + 0.055) / 1.055, 2.4);
  return 0.2126 * channel(r) + 0.7152 * channel(g) + 0.0722 * channel(b);
}

export function contrastRatio(a: [number, number, number], b: [number, number, number]): number {
  const la = relativeLuminance(...a);
  const lb = relativeLuminance(...b);
  const [light, dark] = la > lb ? [la, lb] : [lb, la];
  return (light + 0.05) / (dark + 0.05);
}
When a generated swatch fails against the background it will be used on, either raise its lightness or reduce its saturation until it passes. This loop is not glamorous, but it is the difference between a palette that looks nice in the plugin panel and a palette that ships.
Step 4: The Sandbox / UI Boundary
The plugin splits into two contexts that communicate through postMessage. The sandbox side (src/main.ts) has access to figma.* but no DOM. The UI side (src/ui.ts) has DOM and network but no figma. Anything that touches the document must go through the sandbox; anything that renders pixels must go through the UI.
The sandbox side typically does three things:
// src/main.ts
figma.showUI(__html__, { width: 480, height: 400 });

figma.ui.onmessage = (msg) => {
  if (msg.type === 'generate') {
    const seed = msg.seed; // [r, g, b] in 0-1 floats
    const palette = generatePalette(seed);
    figma.ui.postMessage({ type: 'palette', colors: palette });
  }

  if (msg.type === 'apply-to-selection') {
    const selection = figma.currentPage.selection;
    for (const node of selection) {
      if ('fills' in node && Array.isArray(node.fills)) {
        node.fills = [{ type: 'SOLID', color: msg.color }];
      }
    }
    figma.notify(`Applied to ${selection.length} node(s)`);
  }
};
The UI side listens for the palette message and renders swatches. When a swatch is clicked, the UI posts back an apply-to-selection message with the chosen color. This two-hop structure is what every Figma plugin with a UI uses, and skipping it — by trying to access figma from the UI bundle — produces a figma is not defined error that beginners encounter regularly.
One trade-off worth naming: every postMessage crosses a structured-clone boundary, so functions, class instances, and undefined do not survive. Send plain objects with primitive values. This trips up anyone trying to send a color object built with a class wrapper.
Step 5: Applying the Palette — Fills, Styles, and the Choice Between Them
The plugin has two legitimate ways to leave a palette in the document: as fill objects on selected nodes, or as local paint styles in the document’s style library. The choice is not cosmetic.
Direct fills are simple. node.fills = [{ type: 'SOLID', color }] writes the color and the plugin is done. The downside is that the palette is not reusable — a designer who wants to apply the same swatch to twenty other nodes has to run the plugin again or copy the color by hand.
Local paint styles create durable entries that appear in Figma’s color picker and can be applied with one click. The API call is:
const style = figma.createPaintStyle();
style.name = `Palette/${name}`;
style.paints = [{ type: 'SOLID', color }];
Creating styles is the right default for a palette plugin specifically, because the point of a palette is reuse across a file. The trade-off: styles live in the document and accumulate. A plugin that creates five styles every run will leave a document with fifty styles after ten runs, and there is no API-level deduplication keyed on the style name — each createPaintStyle call produces a new node. Do not automatically create styles on every run. Either expose a checkbox in the UI (“Save as styles”) or check for an existing style by name before creating a new one.
When not to use styles at all: if the plugin is being used for one-off exploration or for applying a single accent color, direct fills are correct. Styles add persistent state that exploration does not want to leave behind. A rough rule: if the designer would want to use the color again next week, save it as a style; if they are just trying something on, don’t.
Myth: A Remote Color API Will Produce Better Palettes
A recurring assumption is that a hosted service — Coolors, Adobe Color, or a custom brand endpoint — will generate palettes that local math cannot. This is where the network constraint and the quality question intersect.
Myth: APIs know things about color that a local algorithm does not.
Reality: The APIs that generate palettes run the same hue-wheel and perceptual-uniformity algorithms that a local implementation can. What they add is a curated set of presets, sharing links, and community palettes. If the plugin’s job is to give a designer three good options from a seed color, the seed-to-palette math is identical. If the plugin’s job is to surface trending palettes or sync to a team’s stored library, the API gains real value.
Figma plugins can access the network via figma.fetch (or by configuring networkAccess.allowedDomains and letting the UI bundle make standard fetch calls). Enabling that expands the plugin’s review surface on the Community and adds a runtime dependency on a third-party service. For a palette generator, the local approach is faster — there is no request round-trip, so swatches appear on the same interaction — and it has no external failure mode.
When a remote approach makes sense: when the palette source of truth lives on a server (brand guidelines, a design token pipeline), or when the plugin needs to pull palettes that other people have published. For a from-scratch generator with no such requirement, the network is a liability rather than an asset.
Step 6: Verify the Build End to End
The verification checklist for a palette plugin is short but the failures are subtle. Load the plugin in the Figma desktop app via Plugins → Development → Import plugin from manifest and run through these checks:
| Check | Expected Result | Failure Means |
|---|---|---|
| Plugin loads without console errors | Panel appears at declared dimensions | Manifest ui path is wrong or the HTML shell is missing |
| Seed color generates a palette | Five swatches render on first interaction | Message boundary broken or palette function threw |
| Clicking a swatch applies it to selected nodes | Selected rectangles change fill | Wrong message type or node type guard is failing |
| Save-as-styles produces reusable styles | Styles appear under the palette name in the color picker | createPaintStyle call not awaited or name collisions |
| Contrast check rejects a bad swatch | That swatch is skipped or adjusted in the output | Palette generation is not running the WCAG check |
Run the failure path manually at least once: select a text node, a frame, and a rectangle at the same time, then apply a palette color. The 'fills' in node guard from Step 4 should skip the frame and apply to the other two. If a frame changes fill, the guard is wrong and larger documents will break in unexpected ways.
Where This Build Stops and What to Add Next
The plugin described here generates a palette, shows it, and applies it. What it does not do — and what most palette plugins end up adding later — is export in a design-token format (JSON, W3C tokens, or a Tailwind config), sync with an external source of truth, or generate palettes in perceptual color spaces like OKLCH that better match human perception than HSL does.
OKLCH specifically is worth considering as a follow-on: the mathematics is more involved than the HSL rotation above, but the output removes the yellow-versus-blue lightness problem that the WCAG-check workaround patches over. If the palette will be reviewed by anyone sensitive to color science, the perceptual space approach saves the work of correcting HSL’s unevenness after the fact.
Which layer of this build is the one your current process is missing — the generation math, the sandbox/UI split, or the decision between direct fills and saved styles? Naming that gap first tends to shorten the path from “plugin idea” to “plugin in the toolbar.”
Related guides: How to Monetize Your Figma Plugin: A Step-by-Step Guide, Building a Figma Plugin That Generates Responsive Type Scales for Beginners, and Figma Variables API Guide for Plugin Developers.